Writing content doesn’t just happen. It takes planning. There are ten unfinished articles for every one published. There are thousands of hours wasted on words that will only ever be seen by me. Content management is really hard. But after years of searching for the best writing app (for me), I’m happy with where I’ve landed!
This is part two, and part one can be found here:


TL;DR:
- I use Apple Pages to write all my content (if you’re not in the Apple ecosystem, feel free to skip this one)
- Do not save Apple Pages documents on Google Drive, ever
- Apple Pages has amazing templates, and yes, it has auto-save.
- Don’t compare a word-processing application to a database one – seriously, don’t do this.
First Things First
I’m usually inside Apple Pages for part of the day (most days), this means, to create a new article, I simply press CMD + N to create a new file.
I’ve set up loads of custom templates, so it makes sense to begin the creation process there. I’ll go into templates more in a second.
As I said in my last post, I’ve tried all the content capture methods, the same is true for my content writing.
I’ve used Word, Notion pages, ClickUp docs, Ulysses, Scrivener, UpNote (love that app!), and Google Docs (who hasn’t), hell I even tried writing them by hand at one point, but everything was far too restrictive and it took me bloody ages to find half done posts again when I wanted to work on them!
Something we say a lot counts for this as well, “the best word processor, is the one you actually use.” And I can honestly say, for the first time since I was writing my daily essays back in the day, this is the first time that the process of writing hasn’t interfered with the flow of writing.
(For reference, I wrote all my dailies in Notion, and had a seriously involved workflow for that, which has now been totally abandoned).
Side Note on Comparisons
It really pisses me off when people compare an app like Pages to something like Notion, you can’t compare the two, at least, I don’t think you can. Pages is a word-processing application, Notion is a database application.
Pages can do loads of things that Notion can’t, because they were built to do very different things! And Notion can do a load of things that Pages can’t, for the same reason.
Yes, Notion can be used as a note-taking or writing app, absolutely, I took notes and created content in Notion there for years.
People are too quick to compare and exclusively use one app for everything, rather than use two apps for their unique qualities.
Sorry, soapbox rant done!
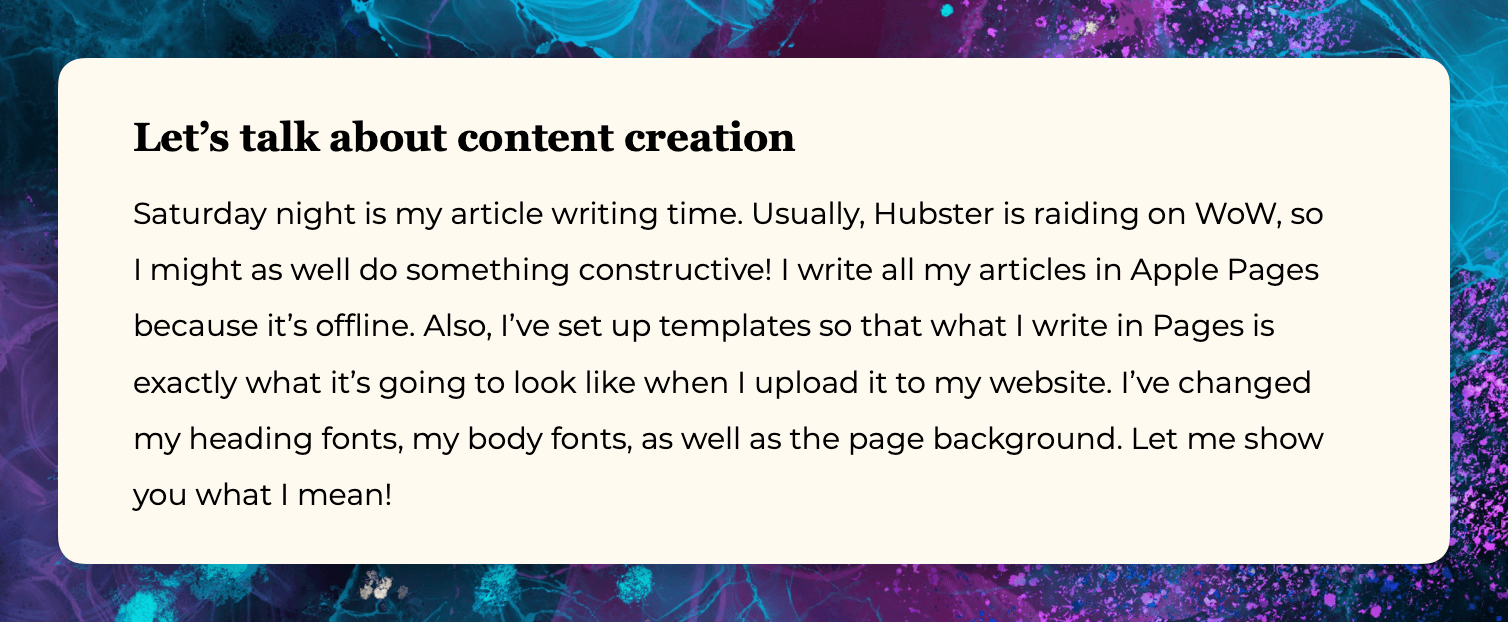
Let’s Talk About Content Management & Creation
Saturday night is my article writing time. Usually, Hubster is raiding on WoW, so I might as well do something constructive! I write all my articles in Apple Pages because it’s offline, at least on Mac. It should upload changes/new documents when it has a connection again.
I’ve done some rudimentary testing (turning off wifi and unplugging my LAN), and it seems to work and sync when it’s connected again. Offline mode is a huge plus, and it’s something that writing apps tend to have over project management apps that you can also take notes in.
I’ve set up templates so that what I write in Pages is exactly what it’s going to look like when I upload it to my website. I’ve changed my heading fonts, my body fonts, as well as the page background. Let me show you what I mean!
The heading font is roughly the same size as on my website (we’re not looking for perfection here, just a general feel), it’s the same font, my body font is the same, and the background color is the same as my website.
This means that whenever I’m writing an article, I can feel what it will look like when published.
A Word of Warning Re. Apple Pages and Google Drive
If you’re using, or intend to use Apple Pages, whatever you do, don’t save Apple Pages files onto Google Drive.
Do not do it.
I’m serious.
While it’s true that Google can’t read them (which is good if you’re of the safety-conscious persuasion), it also can’t open them.
More than that, if you try to open one, it’ll corrupt the file because it tries to unzip it first.
We know that Pages files aren’t unzippable, because they’re not zipped in the bloody first place, but Google Drive doesn’t know this (for some known reason, after all this time (for reference, Pages has been around in one form or another since 2005)).
Do not save Pages documents onto Google Drive!
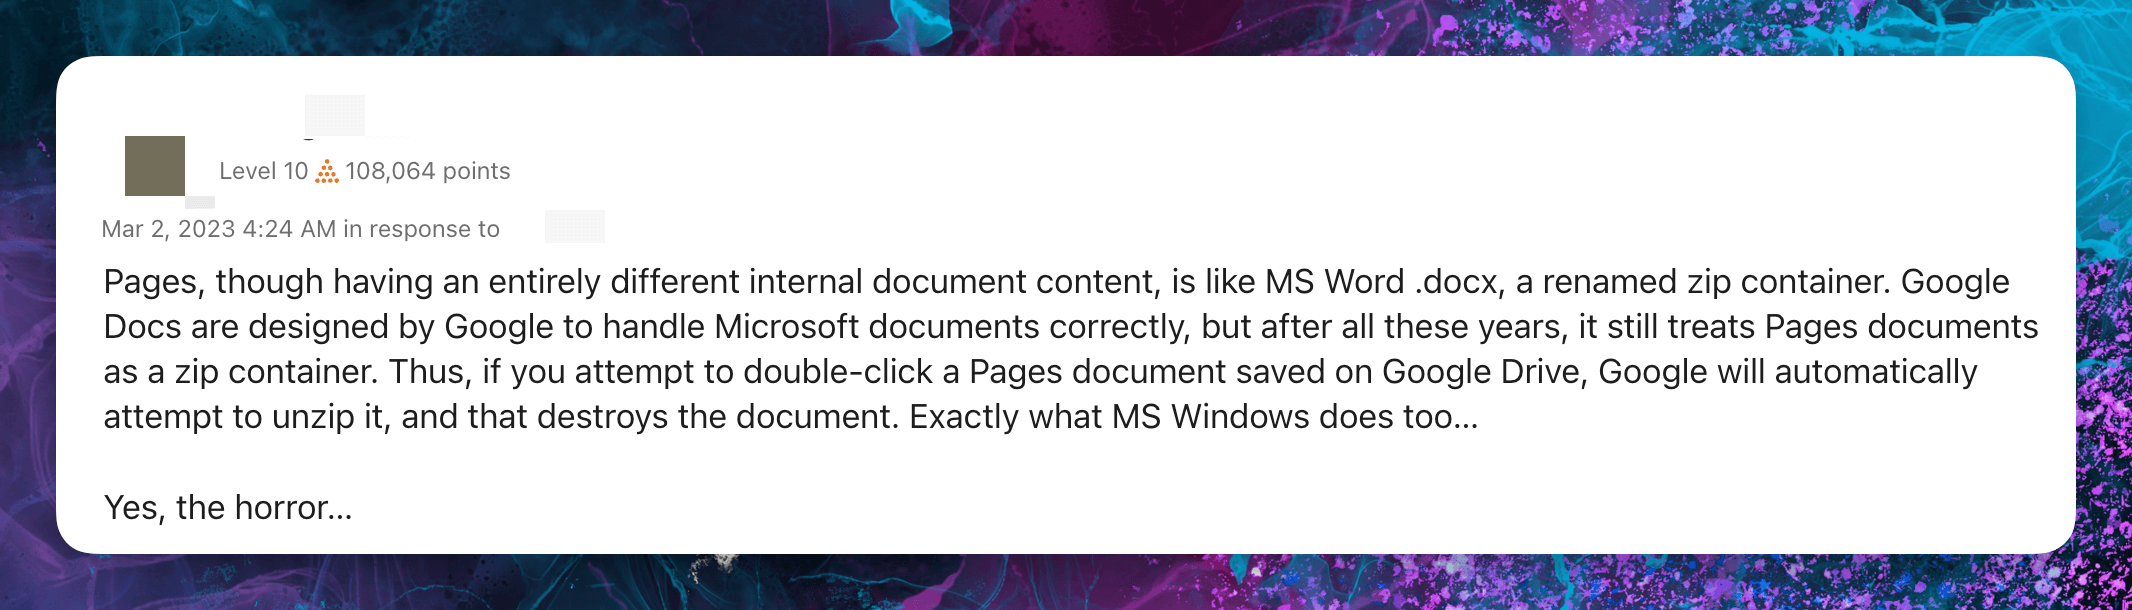
You can read the whole thread here.
Now, you might not ever need to open them in Google Drive, and might have your shit totally together and never accidentally mis-click on something on the browser version of Google Drive. If that’s you, more power to you. But if you’re anything like me, you open things to see what they are, while you’re in a browser window.
This will corrupt and destroy a Pages document.
You might say to yourself, that you’ll upload them into a specific folder on Google Drive, perhaps named “Pages” so that you know not to open it inside the browser, and to only open files from there within Finder. If you have that kind of organization, have at it. Personally, a folder called “Pages” may mean something to be now, but I doubt it’s descriptive enough to stop me from opening files in there in 12 months time. Just me?
Apple Pages’ Auto-Save Feature is Odd.
You would be forgiven for thinking that there isn’t an auto-save feature on Apple Pages, it isn’t obvious, anywhere! You have to search through pages and page of help documents to find out that yes, there is actually an autosave, even though it doesn’t show up when you’re in the document.
You do need to save it once first for this to kick in, if your Mac shuts down without it being saved, there’s no guarantee that it’ll be recovered. Chances are it will be, but let’s not tempt fate, eh?
The first time you save the file, it’ll say “edited” next to the name at the top. For bloody ages, I thought that this meant that there were unsaved changes. It doesn’t.

If you’re not sure, you can head into “View” and then select “Show Sync Status,” which is about fifth from the bottom, although I’m not sure how reliable that actually is, because it actually says “no shared documents are uploading to iCloud,” my articles aren’t in a shared folder, so I’m still lost!
You used to be able to tell depending on the icon in the top left of the window, but that doesn’t seem to work anymore! In fact, there’s no “save” function in the toolbar, even if you edit it! I guess by now, we’re all used to CMD+S to save, but it’s still a bit odd that it’s not there. Of course, it’s under “File,” but there isn’t a button…take from that what you will!
I Leave Everything in the iCloud Pages Folder, Until It’s Published.
Because I have a few articles on the go at once, I leave all of them in the Pages folder on iCloud until they’re finished or abandoned. This means that Pages is in charge of my content management without me having to do very much!
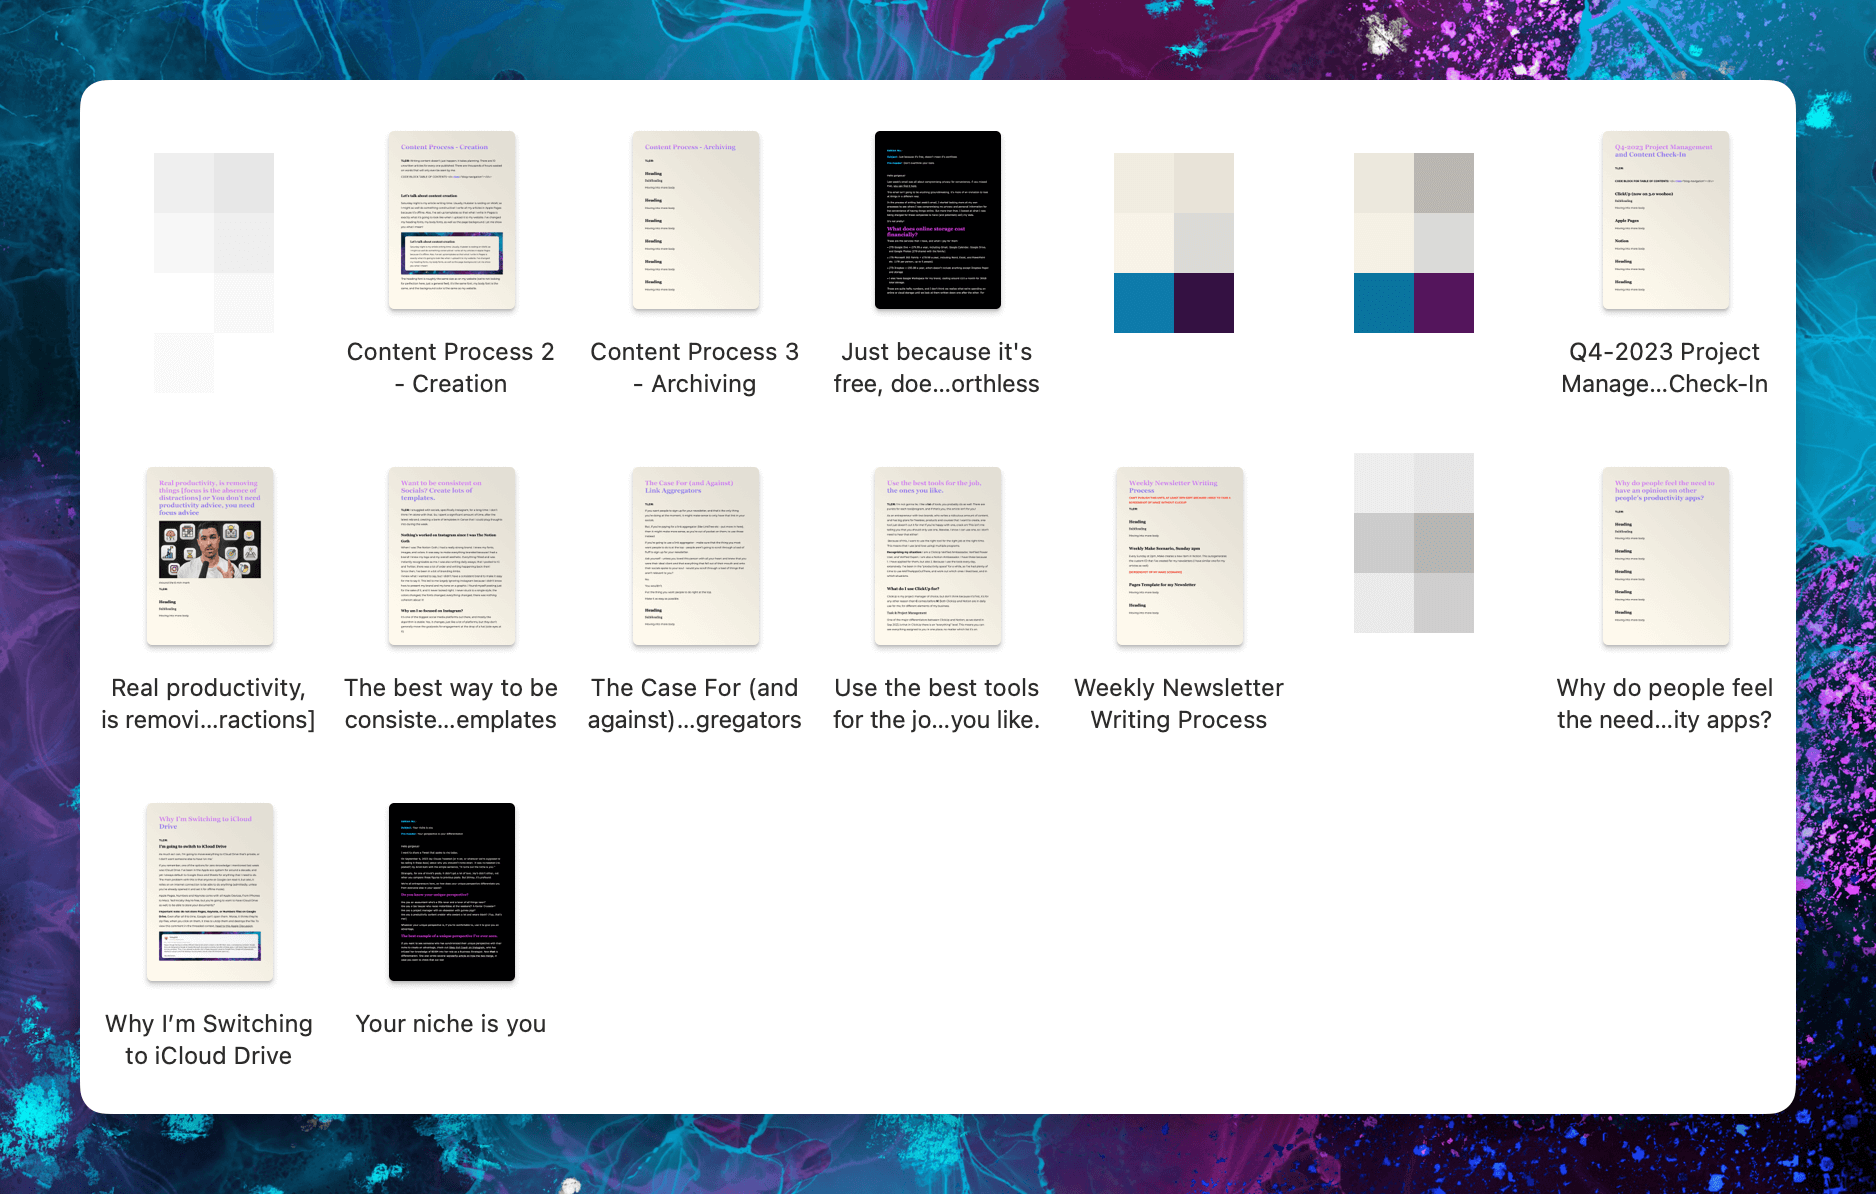
This means that I can see all the articles and potential newsletters (newsletters are black, articles are cream) all at once and pick the one that I want to open and work on. When it’s been published, the Pages file will get moved to an Article folder.
The same goes for my newsletter. I write that first inside Apple Pages, and you know I have a template for that too!
The colors and fonts are exactly what they should be, so I can write my newsletter while being pretty certain about what it’s going to look like when it 1. gets copied and pasted into ConvertKit, and 2. gets copied and pasted onto my website.
Of course, the margins for a word processing document will be different than the finished product on either an email or my website, but doing this gives me a rough ballpark of how things are going to look.
Templates Take the Friction Out of Writing
The more friction I can remove from the content management and creation process the better.
I’ve set up templates for my articles and newsletters to show me about 90% of what it’ll look like online. This gives me a lot of clarity about what I’m writing. I can actually see it, on a nearly identical page to where the finished version is going to be.
Sometimes, I have 10 articles on the go at once, but because I don’t know what I’m doing with them, and don’t know what I want to work on next, I can leave all the undone ones in the Pages folder and not worry about them.
They’ll be there when I want to work on them. I don’t need to worry about where I put them, ordering, sorting, and filtering. They can all happily sit in my Pages folder, waiting for me to open them again.
Only when an article or newsletter has been published, do I move the Pages file into the right folder on iCloud Drive.
Comparing Templates
You know your girl loves a Notion or ClickUp template. These are awesome and save a lot of time. But what they can’t do is look different. They both have 3 different fonts, but you can’t have multiple fonts on a single page, so you can’t have a heading font and a body font. Let’s remember that these applications are project managers that you can write in, not word-processing apps.
You also don’t have any say in the background color of the page in either of them. ClickUp allows you to change the line height, paragraph spacing, and font size, which is handy.
Neither of them allows for custom font colors, again, because they’re not word-processing applications.
Use the tool for the thing it was made for. And don’t bitch when it doesn’t do something an app in a whole different classification does.
Actually, I cheat
Everything I said about templates above is more of a guideline.
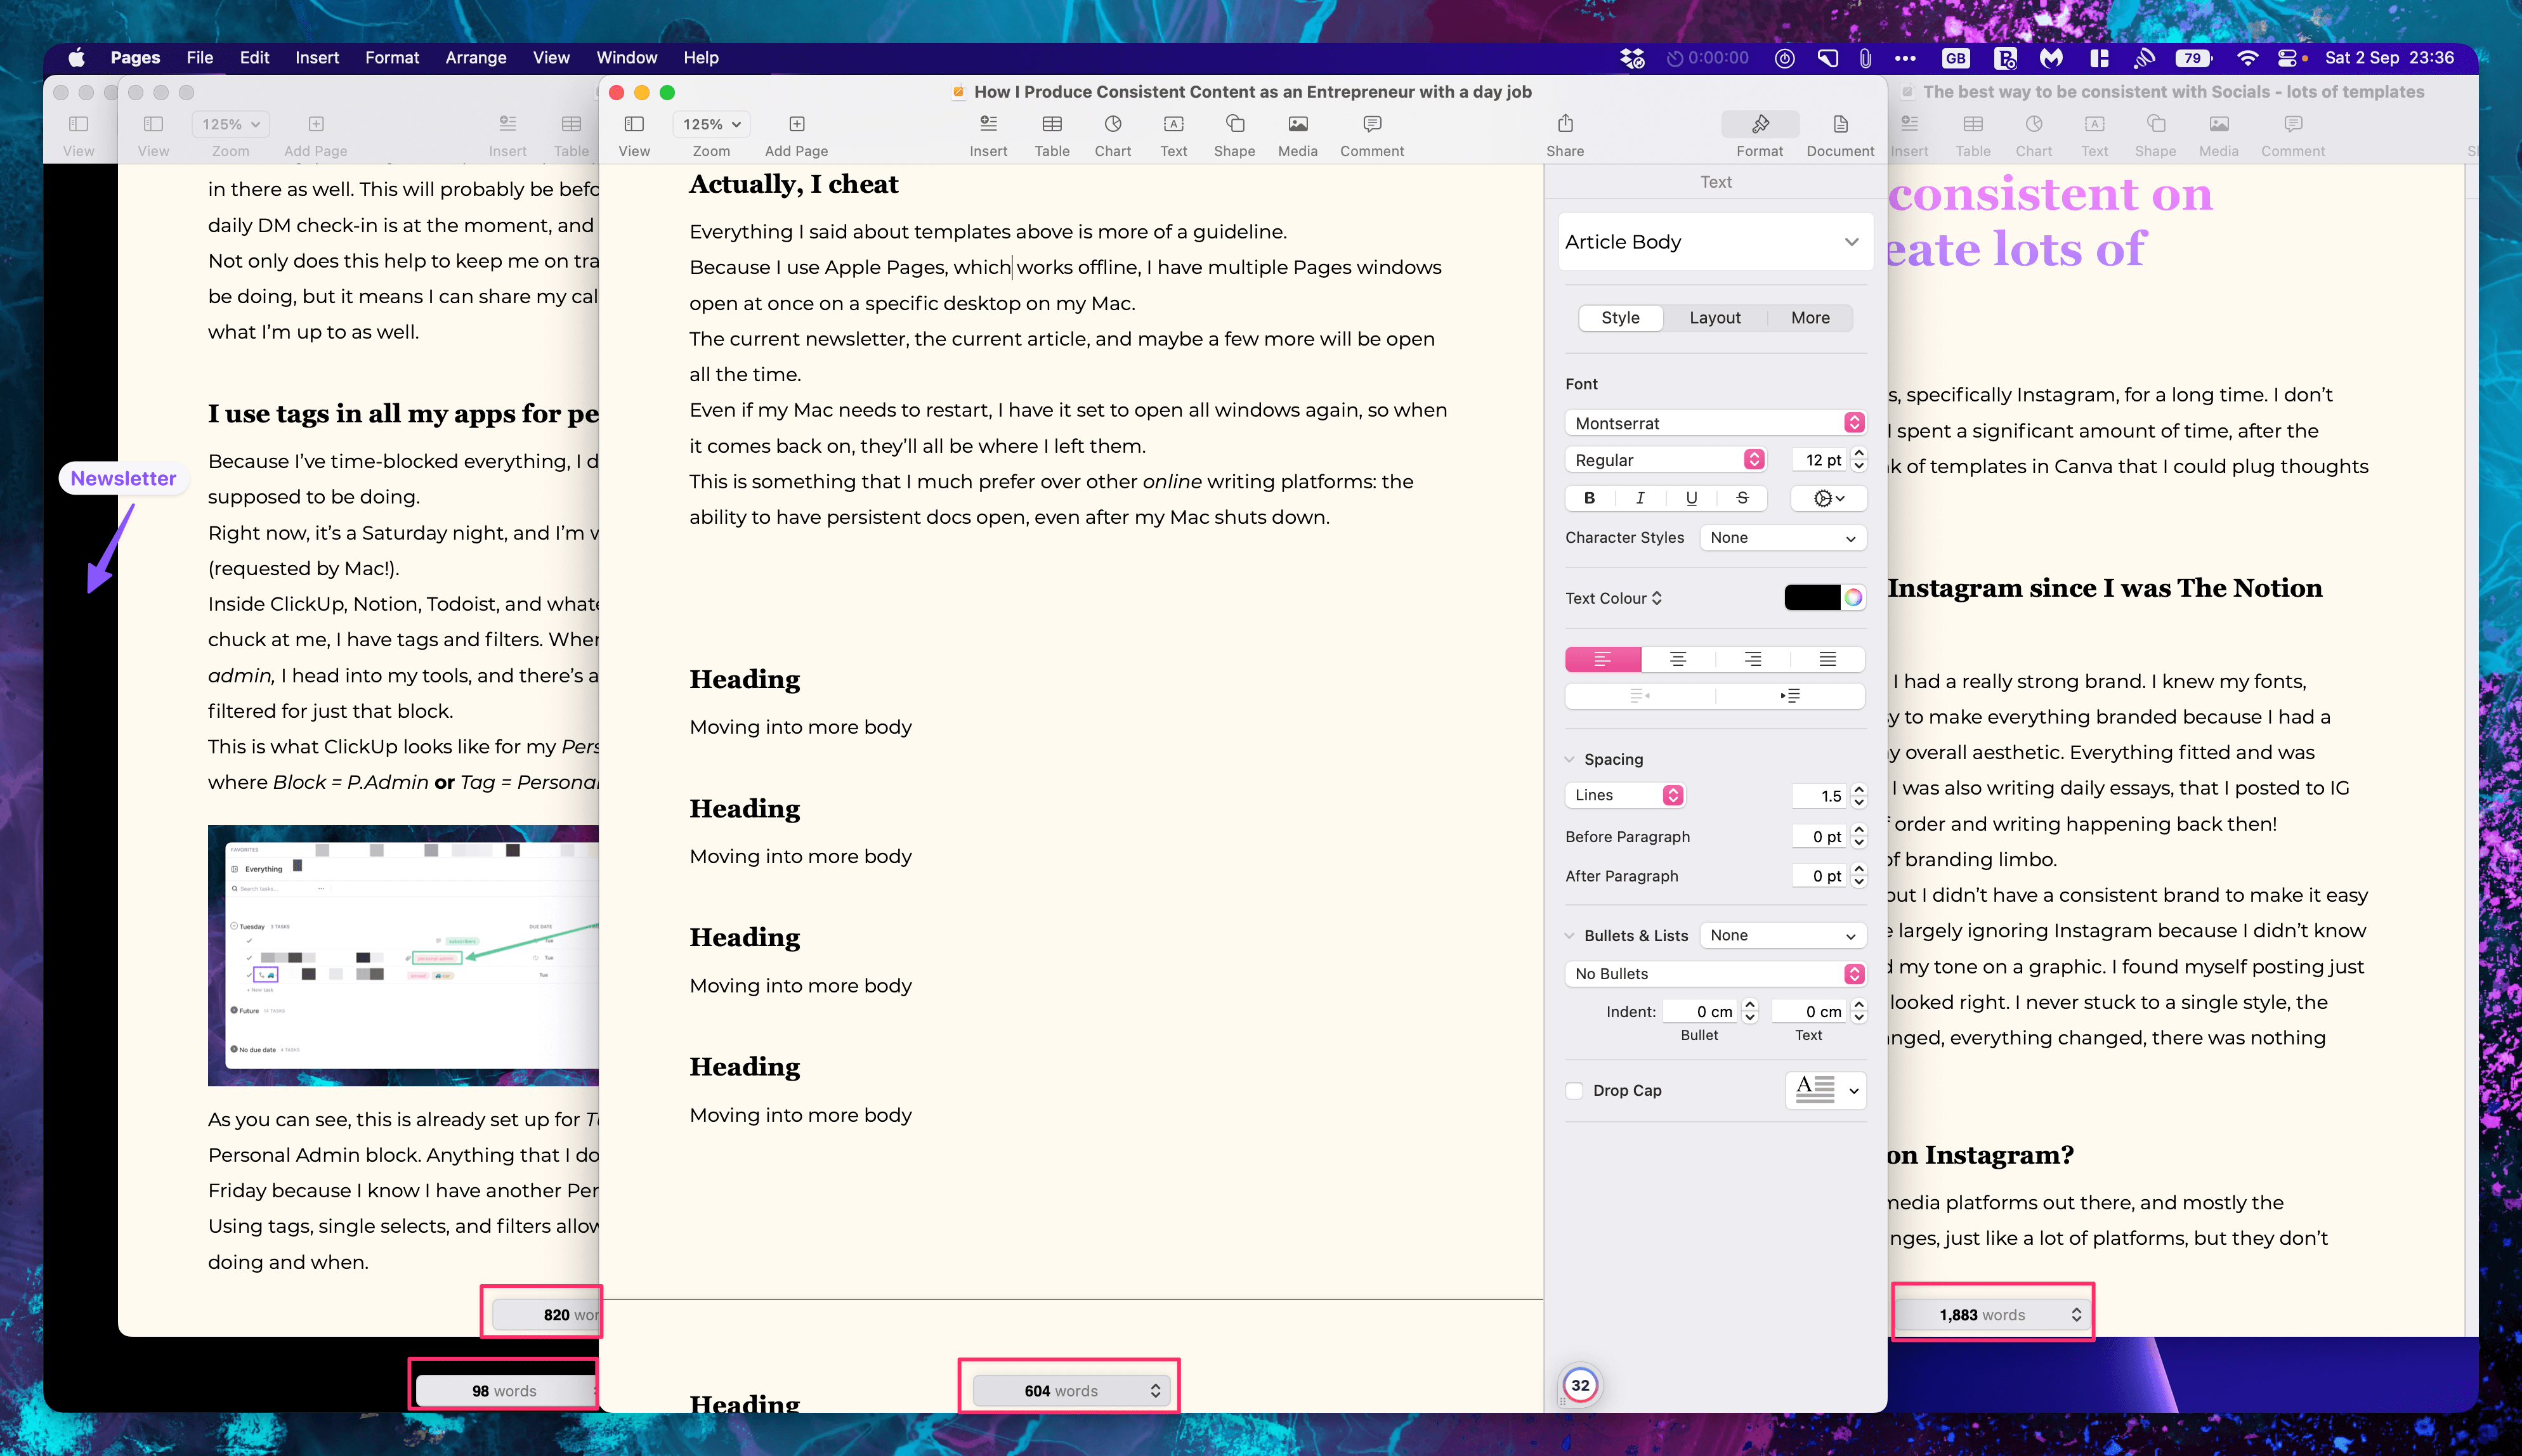
Because I use Apple Pages, which works offline, I have multiple Pages windows open at once on a specific desktop on my Mac.
The current newsletter, the current article, and maybe a few more will be open all the time.
Even if my Mac needs to restart, I have it set to open all windows again, so when it comes back on, they’ll all be where I left them.
This is something that I much prefer over other online writing platforms: the ability to have persistent docs open, even after my Mac shuts down.
It actually allows me to work on multiple ideas at once:
There are three articles and my newsletter on that screenshot, 98 + 820 + 604 + 1883 – that’s a lot of words, which should come as no surprise to those of you who know me!
It also means that if I end up going off on a tangent and writing about something that doesn’t answer the question I’m trying to answer, I can CMD+N and cut and paste the extra bit into it’s own Pages file and carry on where I cut in the original. Then I have the start of another article already waiting for me. Just save the new file and carry on with the original one!
Apple Pages have different styles, depending on your template
One of the stand-out features for me on Apple Pages, is that each template has its own fonts, styles, colors, and backgrounds. As someone who fought (constantly) with Google Docs and Word (for years if not decades) to get something close to this, it is, frankly, questionable why Pages is the only one that does this.
Here’s some images to show you what I mean:
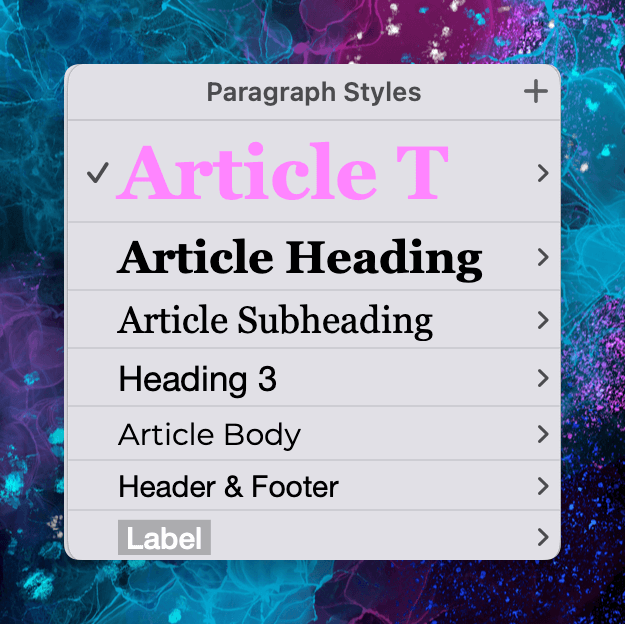
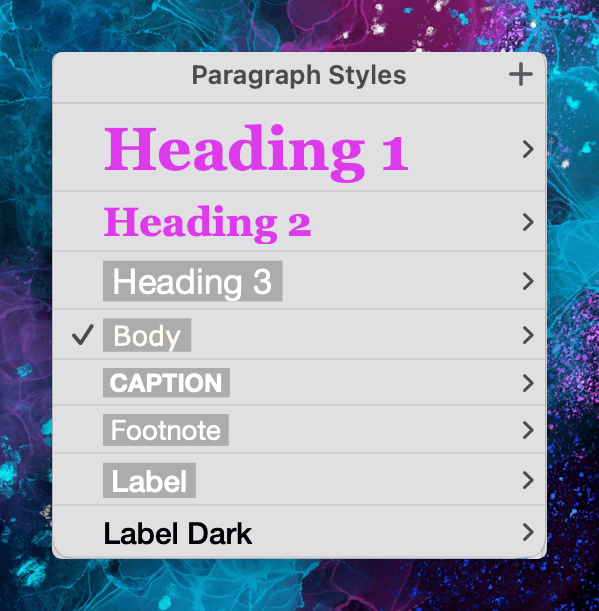
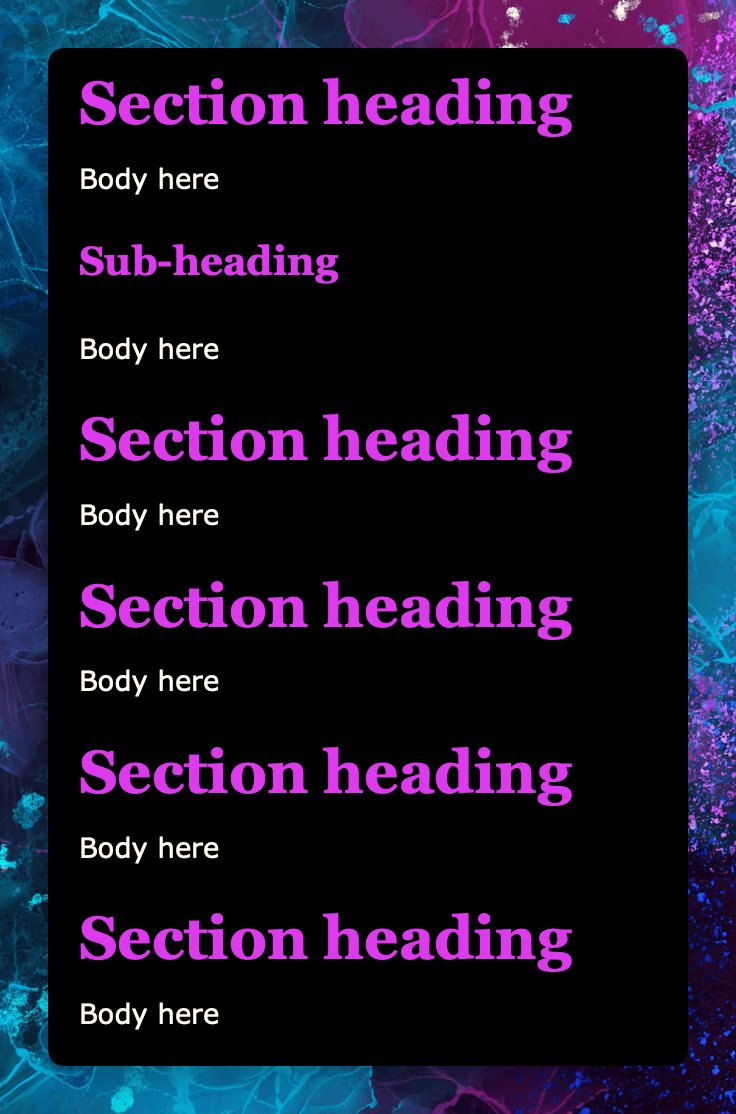
See? Two distinct templates, each with their own fonts, colors, and sizing. They also have a different background color as well.
In fact, in my newsletter I have Georgia as a heading font, and Verdana as a body font (Verdana is the only body font in ConvertKit that I don’t hate!). But in my articles, I still have Georgia as a heading font, but the body font is Montserrat. The background page color of my newsletters is black, and my articles are the same hex as the background on my website.
This means that the content management system starts as soon as I create a doc!
Because I have these templates set up, I know (pretty much) how it’s going to look when it’s uploaded to either place. On my website, the fonts will be Georgia and Montserrat, because that’s the feel of my whole website, but at least I have some idea how it’s going to look in ConvertKit!
My Biggest Context Switching Problem with Pages
We’re all familiar with Notion, and we know how easy it is to move things around, just grab the dots on the left and move the whole block. In fact, I wrote a whole article ages ago about how I couldn’t move to another writing app because I can’t leave the block-based editor (although I’m buggered if I can find it now to link it!).
Craft Docs and ClickUp have a block-based organization structure as well, just grab the left-hand handle and move things around.
I thought that this was a deal breaker for me.
Turns out, it’s not!
I’m still adjusting to it, and I still find myself hovering the mouse over the left-hand side occasionally, waiting for the dots to appear, but it’s getting less!
CleanShotX + iCloud Drive
As I write my article, I take screenshots to illustrate the points that I’m typing about. Now that CleanShotX has new options (being able to templatize the background, padding, and corner rounding in a single button), I just click a Preset, and it’s all done for me. If you’ve not seen this new function yet, here’s their update video.
When I write something I think should have a screenshot attached to it, I take it then and there and then put a placeholder in the text where the image needs to be. This placeholder text is pre-programmed into the template, it’s red, bold, and all caps.
As soon as I take my first screenshot for an article, I nip into iCloud Drive documents and create a sub-folder (either in my newsletter folder or my articles folder) so that I can start popping screenshots in there. If you’ve been here for a while, you know I like to take lots of screenshots!
These screenshots are popped into the article folder, ready for the publishing process, but that’s for another post! The key here is to create a folder as soon as I’ve got something to put in it. That keeps the content management process super slick and easy to navigate!
So that’s part two of my content process!
That’s my creation process from the point where I start working on an article (or newsletter) to when it’s finished.
Next week, I’ll go into how I publish and archive my work. Get ready for another in-depth article to cover all that!